Introduction: Is Your PC Running Hotter Than It Should?
If you’ve noticed your Windows PC or laptop feels unusually hot, runs slowly, or suddenly shuts down, you’re likely experiencing overheating issues. Overheating isn’t just an inconvenience—it can cause significant damage to your hardware, shorten your computer’s lifespan, and negatively impact performance. Fortunately, overheating is common and usually solvable with some straightforward troubleshooting. This guide provides comprehensive DIY solutions—from beginner-friendly steps to advanced techniques—to help you identify and fix overheating problems quickly.
Statistics from AVG Technologies and Dell Support indicate overheating is among the top five common PC issues, affecting nearly 25% of users regularly. Additionally, ITU Online reports that dust and poor ventilation cause over 60% of overheating cases, underscoring the importance of regular maintenance.
Recognizing the Signs of Overheating
Before addressing overheating, you need to recognize the symptoms:
- Loud or constantly running fans: Your computer’s cooling fans kicking into high gear often signal excessive internal heat.
- Excessive heat felt on the chassis or keyboard: Noticeable warmth to the touch is a clear indicator of overheating.
- Performance issues: Sudden slowdowns, freezing, crashes, or unexpected shutdowns are common reactions as your system tries to protect itself.
- System warnings or errors: Windows may display Blue Screen of Death (BSOD) errors or BIOS thermal warnings.
🔍 Quick Troubleshooting Table: What to Check First
| Symptom | Likely Cause | Suggested First Step |
|---|---|---|
| PC feels hot even when idle | Dust buildup, poor ventilation | Clean vents and check fan airflow |
| Fans running loudly | High CPU/GPU load or software bug | Check Task Manager for background processes |
| System shuts down unexpectedly | Thermal throttling or hardware failure | Reapply thermal paste and monitor temps |
| Performance drops during gaming/video | Heat saturation, limited cooling | Use a cooling pad or adjust power settings |
| Laptop hot underneath on soft surface | Blocked ventilation | Use only on a hard, flat surface |
Common Causes of Overheating in Windows PCs
Several factors contribute to overheating:
- Dust buildup: Dust accumulation restricts airflow, making cooling inefficient.
- Blocked ventilation: PCs placed in confined spaces or laptops on soft surfaces reduce airflow.
- High CPU/GPU load: Demanding software can cause hardware to generate excessive heat.
- Degraded thermal paste: Old or improperly applied thermal paste reduces heat transfer efficiency.
- Faulty cooling components: Malfunctioning fans or damaged heatsinks can’t effectively manage heat.
- High ambient temperatures: Hot room conditions naturally raise your PC’s baseline temperature.
- Aggressive system settings: Overclocking or improper BIOS settings push hardware beyond recommended limits.
- Software and malware issues: Malware or runaway software processes overuse system resources, generating excessive heat.
DIY Steps to Fix Overheating
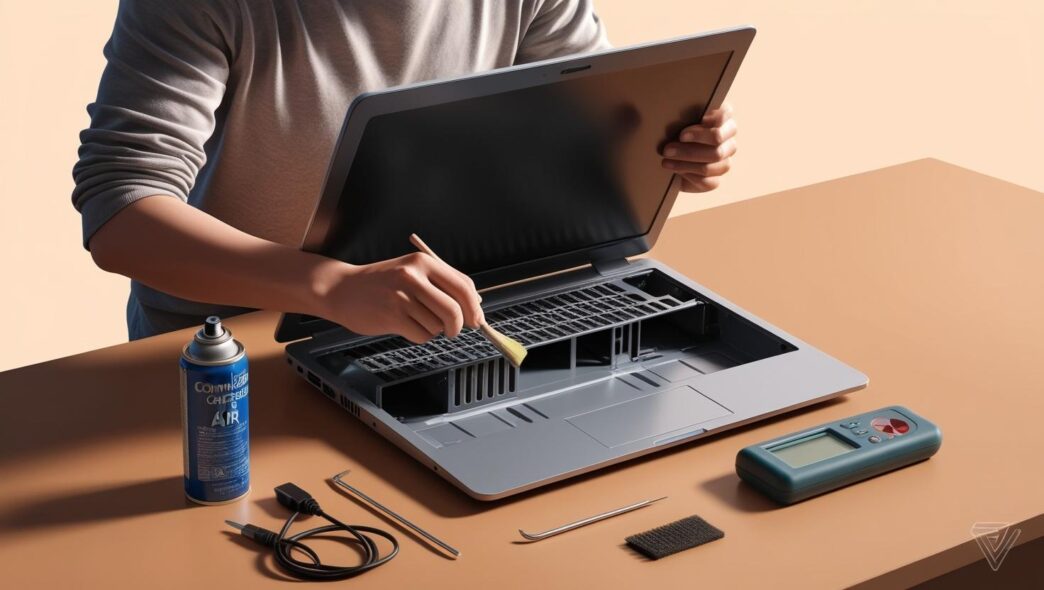
Step 1: Cleaning Your PC
- Regularly clean your PC with compressed air or an anti-static brush.
- Shut down and unplug your computer before cleaning.
- Blow dust from vents, fans, and heatsinks carefully.
- Ensure internal cables don’t obstruct airflow.
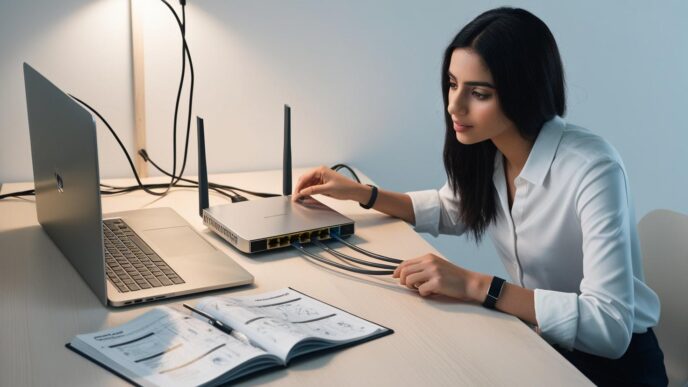
Step 2: Improving Ventilation
- Place desktops at least a few inches away from walls to allow air circulation.
- Avoid using laptops on soft surfaces; always use a hard, flat surface.
- Maintain a cool, ventilated environment to lower ambient temperatures.
Step 3: Adjusting Windows Power Settings
- Navigate to Control Panel > Power Options and select the Balanced or Power Saver plan.
- In advanced power settings, reduce “maximum processor state” to 95-99% to lower heat generation.
- Set the system cooling policy to passive mode to minimize overheating.
Step 4: Keeping Windows and Drivers Updated
- Regular updates ensure optimal system performance and thermal efficiency.
- Check for Windows updates in Settings > Update & Security regularly.
- Update BIOS and hardware drivers from your manufacturer’s website to enhance cooling efficiency.
Step 5: Restarting and Cooling Off
- Regular restarts clear system processes that could be causing heat buildup.
- Periodically shut down your PC, especially after prolonged intensive tasks, allowing it to cool thoroughly.
Advanced DIY Solutions
⚠️ Compatibility Disclaimer: Before attempting any hardware upgrades or changes—such as reapplying thermal paste, upgrading fans, or installing new cooling systems—always check your device’s specifications and ensure that replacement parts are compatible with your CPU, GPU, and motherboard. Incompatible components may cause damage or void your warranty.
Step 1: Reapplying Thermal Paste
- Thermal paste transfers heat from the CPU/GPU to cooling solutions effectively.
- Remove old thermal paste with isopropyl alcohol and a lint-free cloth.
- Apply a pea-sized amount of new paste on the center of the processor.
- Secure the heatsink evenly and firmly.
- This can result in temperature reductions of 5-15°C, significantly improving performance and stability.
Step 2: Undervolting the CPU/GPU
- Undervolting reduces power consumption, lowering heat without compromising performance.
- Adjust voltages gradually in BIOS settings, testing stability with stress-testing software.
- Stable undervolting can lower temperatures by up to 15°C.
- Always proceed cautiously, as incorrect undervolting may cause instability.
Step 3: Upgrading or Enhancing Cooling Hardware
- Add or upgrade desktop case fans to boost airflow.
- Replace or upgrade existing CPU/GPU cooling solutions.
- Use external cooling pads for laptops to enhance airflow.
- Regularly check internal airflow and arrange cables neatly.
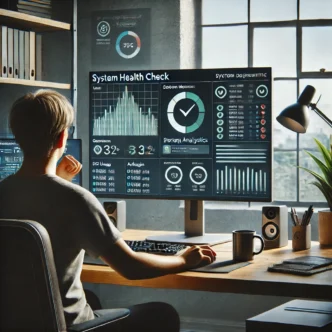
Monitoring and Testing After Fixes
After performing these steps:
- Monitor temperatures using built-in BIOS tools or reputable monitoring software.
- Run stress tests to verify system stability under load.
- Adjust or revisit troubleshooting steps if overheating persists.
Preventive Tips & Maintenance
To maintain optimal performance and avoid future overheating:
- Schedule regular cleaning every 3-6 months.
- Keep your PC environment cool and ventilated.
- Regularly monitor temperatures, especially during intense workloads.
- Limit aggressive hardware settings or intensive tasks when unnecessary.
- Keep your system and drivers updated to maintain peak efficiency.
Conclusion: Keeping Your PC Cool for Long-Term Performance
Overheating issues, though common, can be easily resolved with proactive maintenance and DIY troubleshooting. Regularly cleaning your PC, improving ventilation, applying thermal paste, and monitoring temperatures significantly prolong your system’s life and enhance performance. Embracing these practical, proactive measures transforms your PC maintenance approach from reactive to preventive, ensuring sustained performance and longevity.
Bookmark This Guide for Ongoing PC Health
Ensure your PC remains cool, efficient, and reliable by applying these steps regularly. Bookmark this comprehensive guide and share it with others facing similar overheating issues. Regular maintenance not only extends your computer’s lifespan but also optimizes its performance.
📌 Privacy Note: This article is for general informational purposes only. It does not collect personal data, and no professional services are being sold through this guide.