Introduction: Why Hardware Troubleshooting Still Matters in 2025
Even in the age of high-speed processors and intelligent software automation, hardware issues remain one of the most common—and frustrating—causes of PC slowdowns, instability, and outright failure. Whether it’s a hard drive on the verge of failure, RAM that’s gone bad, or overheating components slowly damaging your machine, these problems can go unnoticed until it’s too late. More importantly, they can mimic software issues, causing users to waste hours reinstalling programs or tweaking settings that have nothing to do with the root cause.
Hardware problems can affect everything from performance to data integrity, and they tend to appear at the worst possible time. That’s why being proactive about troubleshooting and understanding what symptoms to watch for is critical. In this guide, you’ll learn how to identify early warning signs, follow a practical checklist for hardware testing, and apply step-by-step methods to resolve issues. You’ll also gain insights from real user scenarios and develop habits that help prevent future hardware breakdowns.
According to IT repair logs and 2024 diagnostic reports, more than 45% of long-term PC performance issues can be traced back to hardware failures. Let’s explore how to catch and fix them before they derail your productivity.
Recognizing the Signs of Hardware Failure on Windows PCs
When your PC starts behaving unpredictably—freezing randomly, crashing without warning, or refusing to boot—it’s easy to assume software is to blame. But hardware issues often present similar symptoms and can lead users down the wrong diagnostic path if not recognized early. This section helps you distinguish between hardware and software problems by breaking down the most common physical signs and patterns.
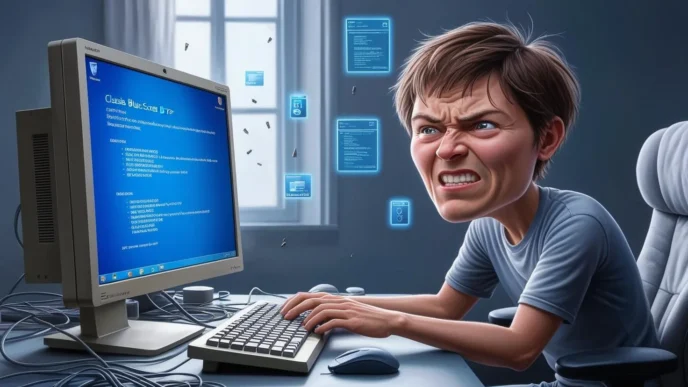
You’ll learn to recognize subtle cues like intermittent freezing, random reboots, or odd noises that don’t align with typical software malfunctions. We’ll also cover why hardware failures often masquerade as Blue Screen errors, what intermittent faults reveal about the source of the problem, and how to document behaviors for better diagnosis.
Common warning signs include:
- 🔁 Random restarts or lockups, especially under load
- 🧊 System freezes without error messages
- 🐌 Slower boot times and sluggish performance
- 🔊 Clicking or grinding noises from internal components
- 🧩 BSODs tied to memory or storage codes (e.g., MEMORY_MANAGEMENT)
📝 Real-world example: A user’s laptop consistently froze during video calls but worked fine during light browsing. After thorough inspection, the issue was traced to an overheating fan and dust buildup inside the cooling vents.
📌 Why It Matters: Spotting the signs early allows you to take targeted action before data loss, hardware damage, or costly downtime occurs.
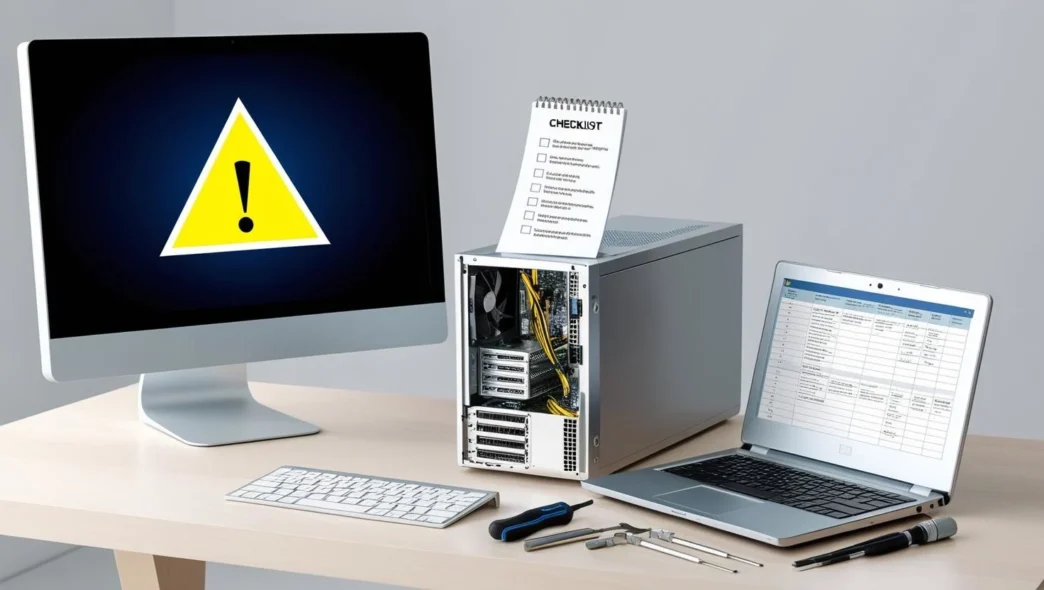
The Essential Hardware Troubleshooting Checklist (Step-by-Step)
Jumping into troubleshooting without a plan can be overwhelming. This section offers a streamlined checklist to guide your diagnosis—from simple inspections to system-level testing. Following these steps in order can help isolate the failing part and prevent unnecessary repairs.
Each step below is beginner-friendly and focuses on actions you can take without professional equipment. Even if you’re not tech-savvy, these steps will give you clarity and control.
Step 1: Visual Inspection
- Shut down and unplug your PC.
- Open the case (desktop) or inspect ports and vents (laptop).
- Look for:
- Dust buildup
- Bent pins or broken ports
- Bulging or leaking capacitors on the motherboard
Step 2: Remove External Devices
- Disconnect USB drives, external monitors, and peripherals.
- Reboot the system and check for changes in behavior.
Step 3: Use Safe Mode or BIOS Access
- Boot into Safe Mode to bypass third-party drivers.
- Access BIOS to confirm hardware is recognized.
Step 4: Run Diagnostics
- Use built-in memory and disk check tools.
- Note any error codes or failed components.
Step 5: Monitor Overheating
- Observe fan noise and system temperature during use.
- BIOS or built-in tools often show live temperature readings.
Mini Checklist
- ✅ No loose cables or components
- ✅ Clean airflow and working fans
- ✅ External devices removed during testing
- ✅ BIOS detects all critical hardware
- ✅ Basic diagnostics completed
💡 Take This With You:
A step-by-step approach minimizes guesswork and helps you fix the actual problem without replacing unnecessary parts.
Diagnosing Specific Hardware Components
Once you’ve followed the basic checklist, the next step is narrowing down which component is failing. This section breaks down the most failure-prone parts of your PC, explaining what symptoms to look for and how to test or temporarily work around them.
By matching symptoms to specific hardware issues, you can more confidently determine whether the problem lies with RAM, your hard drive, the power supply, or another component.
Common Symptoms and Causes
| Symptom | Likely Component Issue | Immediate Step |
|---|---|---|
| Frequent BSODs | RAM or driver conflict | Run a memory diagnostic |
| Clicking or slow load times | Hard drive | Backup data and check disk health |
| PC shuts down during load | PSU or overheating | Inspect fans, airflow, power cables |
| No display or random freezing | GPU or motherboard | Reseat components and check BIOS |
RAM Failures:
- Trigger random crashes, BSODs, or system reboots.
- Use memory diagnostics to isolate faulty modules.
HDD/SSD Problems:
- Cause delays in opening files, frequent crashes, or corrupted data.
- Listen for clicking sounds and run drive health checks.
Power Supply (PSU):
- May cause the system to shut off unexpectedly or fail to boot.
- Inspect for unusual fan sounds or electrical smells.
GPU/Motherboard Issues:
- No video output, random freezing, or failed USB device detection.
- Try booting with onboard graphics if available.
🔁 Putting It All Together: Identifying which part is failing allows for focused repairs and avoids unnecessary replacements or data loss.
Common Troubleshooting Mistakes (And How to Avoid Them)
When dealing with technical issues, it’s easy to jump to conclusions or follow bad advice. Unfortunately, some of the most common troubleshooting habits can make the problem worse—or cost you money unnecessarily. This section covers the biggest mistakes users make and how to avoid falling into those traps.
Whether it’s replacing components too quickly, relying on unreliable software fixes, or ignoring warning signs, understanding these pitfalls can save time, stress, and resources.
Mistake 1: Replacing Parts Too Soon
- Don’t buy new hardware until you’ve verified the failing part.
- Test with diagnostic tools first—many issues stem from loose connections or bad settings.
Mistake 2: Ignoring Warning Signs
- Strange sounds, increased fan speeds, or boot errors are clues.
- System beeps or flashing LED indicators may point to specific faults.
Mistake 3: Relying on Questionable Software Fixes
- Avoid third-party “optimizer” tools that promise one-click repairs.
- Stick with built-in diagnostics or manual troubleshooting.
Mistake 4: Resetting the OS Too Early
- A full reinstall should be a last resort, not the first step.
- Resetting doesn’t solve a hardware problem—and may hide it temporarily.
📝 Real-World Story: One user experienced data loss after replacing their SSD twice. The real issue? A failing power supply that cut power during writes, corrupting the new drives.
📌 Why It Matters: Knowing what not to do can be just as important as knowing what to try next. Smart troubleshooting saves time and prevents frustration.
Real-World Scenarios and What They Teach Us
Understanding theory is one thing—but seeing how other users have solved real hardware problems makes troubleshooting more practical and relatable. In this section, you’ll find short, real-world scenarios that illustrate how various PC owners diagnosed and fixed issues ranging from overheating to hard drive failure.
These stories highlight the symptoms, the investigation process, and the lessons learned along the way. They’re designed to help you recognize similar signs in your own system and build confidence in your problem-solving skills.
Case 1: Gaming Rig That Kept Shutting Down
Issue: The PC would power off mid-game. Diagnosis: High internal temps, dusty case, degraded thermal paste. Solution: Cleaned fans, reapplied thermal paste, and restored airflow. Lesson: Overheating can mimic power failure.
Case 2: Work-from-Home User With Sluggish Startup
Issue: Boot time exceeded 3 minutes and apps opened slowly. Diagnosis: Dying hard drive showing disk errors. Solution: Replaced drive and restored from backup. Lesson: Drives fail gradually—slowdowns are often early signs.
Case 3: Student’s Laptop Freezing Mid-Class
Issue: Random freezes during browser use. Diagnosis: Faulty RAM stick triggered BSODs. Solution: Removed defective stick; replaced with new memory. Lesson: Even a single bad memory module can crash an otherwise stable system.
💡 Take This With You: Real stories remind us that successful troubleshooting comes from patience, observation, and small steps—not panic or guesswork.
Preventive Maintenance Tips to Avoid Future Hardware Issues
Fixing a problem is one thing—avoiding it altogether is better. This section outlines a few easy, practical habits you can adopt to keep your Windows PC or laptop running smoothly. These aren’t technical overhauls—they’re simple routines that help detect problems early or prevent them altogether.
Many hardware issues develop gradually and give warning signs along the way. Routine cleaning, backups, and hardware checks ensure you’re not caught off guard. These practices are especially useful if you rely on your PC for work, study, or creative tasks where downtime isn’t an option.
Practical Maintenance Tips:
- 🧽 Clean your system (vents, fans, ports) every 3 months
- 🧪 Run memory and disk checks every 6 months
- 🔋 Use surge protection to prevent damage from electrical spikes
- 💾 Back up data monthly in case of drive failure
- ⚙️ Set restore points before installing new software or drivers
📋 Maintenance Table:
| Task | Frequency | Purpose |
|---|---|---|
| Clean interior & fans | Quarterly | Prevent overheating |
| Run memory/disk tests | Bi-annually | Catch faults early |
| Backup important data | Monthly | Protect against drive loss |
🧠 Remember This: Prevention takes minutes—a full recovery from failure can take hours or days.
FAQ – Diagnosing Hardware Issues on Windows PCs
Hardware issues can be intimidating if you don’t understand them. This FAQ answers the most common questions users have when facing unexplained PC problems. Whether it’s strange noises or sudden shutdowns, these answers offer clarity and practical next steps.
Q: How do I know if it’s hardware or software? A: Hardware issues often persist after system resets and can cause physical symptoms like noise, heat, or power loss. Software issues usually affect specific programs or settings.
Q: Can overheating cause permanent damage? A: Yes. Prolonged overheating can degrade components like the CPU, GPU, or power supply. Catching heat issues early helps prevent permanent failure.
Q: What should I check first if my PC shuts down randomly? A: Start by checking for overheating and inspecting the power supply. Look for dust, clogged vents, or loose power cables.
Q: Is it safe to open up my laptop to clean it? A: Yes, if you’re careful. Use an anti-static wristband and avoid touching delicate internal components. Always power down and unplug first.
Q: Still having trouble? If the issue continues after trying these steps, it may be time to consult a trusted technician. A professional can run deeper diagnostics and prevent further damage to your system.
📌 Why It Matters: Addressing common questions empowers users to take action rather than feel helpless when problems arise.
Conclusion: You Don’t Have to Be an Expert to Troubleshoot Hardware
Hardware issues can seem overwhelming at first, especially when symptoms overlap with software problems. But once you understand what to look for—whether it’s odd noises, system crashes, or overheating—you can diagnose and resolve many issues yourself.
Use this guide as a reference whenever your PC starts behaving strangely. Whether you’re spotting early warning signs, using the step-by-step checklist, or learning from real-world examples, this approach gives you the confidence to troubleshoot without panic.
And remember: routine maintenance is your best defense. It keeps your system healthy, stable, and ready when you need it most.
✉️ Call to Action: Bookmark this guide for future use, and share it with someone who might be dealing with slowdowns or random crashes. You never know whose day you might save.
📌 Privacy Note: This article is for general informational purposes only. It does not collect personal data, and no professional services are being sold through this guide.
